How to migrate a WordPress site to a new host – Plugin
It is common practice to design/develop a WordPress site on a local server and then migrate this once your design is complete. Here we will show you how to migrate your website using the All-in-One WP Migration plugin.
Before proceeding with any migration efforts we need the new host server setup. This needs to be a fresh install of WordPress with nothing added or modified.
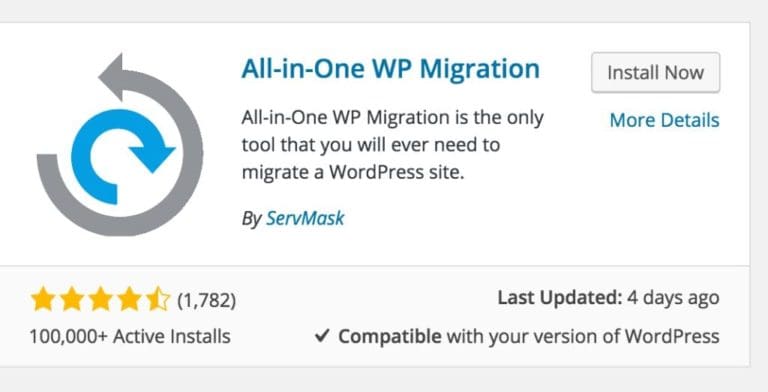
All-In-One WP Migration Plugin

Before proceeding with this we need to make sure that we have a base install of WordPress ready on the new host. If not then you will need to set this up. If you have a cPanel hosting account with Softaculous then you can follow this guide on how to install WordPress with the one click app installer here.
Let’s login to the local host of WordPress, select Plugins -> Add New. Search for the All in One WP Migration plugin and select install.

Once installed we should see the All-in-One WP Migration link in the admin dashboard. Let’s select Export to get the migration under way.

WordPress has a lot of links stored on the database and we need to make sure that when we export this WP site we need to update the database records to match the new domain name of the live site. For this example, I have used localhost as the local domain and wp-site.org for the new host.

Let’s start by finding all records on the database as https://localhost and replacing with https://wp-site.org. Once we have made the desired changes we now need to export to a file (we believe this to be the best method when migrating sites and also allows you to keep a local backup of the migration file). Lets start by selecting EXPORT To -> File
You will need to download this file. Please note that the All-in-One WP Migration free version only allows up to 500MB limits for migrating websites. If you do not wish to pay for this plugin then we suggest that you follow the manual migration method as outlined below.
Once the download has complete it is time to work on the new host. We need to make sure that there is a fresh install of WordPress on the new host before proceeding with the migration.
Login to the newly installed WordPress site on the host and download the same plugin once again from the Admin -> Plugins -> Add New.

This time we need to select the Import tool for migrating the localhost installation that needs to be migrated.
Before proceeding with the actual import of our migration file we need to make sure that WordPress has been setup to allow file uploads larger than your Migration file. This can be seen at the bottom of the import file page.

As can be seen the Maximum upload file size on my hosting account is too small as I need at least 250MB for my migration file. If you are running your website on a cPanel host then you should be able to change this using the Multi-PHP Ini editor on your cPanel account.
To do this login to cPanel and select SOFTWARE -> MultiPHP INI Editor

I have changed these settings to the following:
max_execution_time – 180 (This increases the execution time a script can run)
max_input_vars – 1800 (This increases the request sizes of the website, do not make this too high as this can cause issues with your host.
post_max_size – 256MB (This increases the maximum post size on WordPress including uploads, so it is advised to have this the same or slightly higher than the upload_max_filesize)
upload_max_filesize – 256MB (Set the maximum file size that can be uploaded on your hosting account)

Select Apply and reload the WordPress All-in-One WP Migration Import page again and we should see the new upload limits has taken affect. If not then you may need to contact your host and ask them to increase this for you.ur host and ask them to increase this for you.

Let’s now start the import process. Click on IMPORT FROM -> File and select the file we downloaded earlier on from the localhost site.
Once we have selected the migration file we will see the process of the file import and migration itself.

Once the upload has completed you will be prompted to confirm if you wish to overwrite existing data on your host WordPress site. As we are doing a migration we want to confirm this so select PROCEED

Once Migration has completed we need to re-set the permalinks and save them 2 times in order for the new changes to take affect. Select Permalinks Settings.

Double check that the permalinks are to your liking and then select Save Changes 2 times.

Once you have saved this then your migration should be complete. Check it by entering the new domain name for your website.


