Creating Child Themes
Whenever we want to make changes to an existing theme it is always a very good idea to create child themes due to the fact that when themes are updated your modified code will get overwritten and all your work will go to waste.
What are Child themes?
A child theme is an override theme for the parent theme that allows you to make changes that are not lost when updating. Let’s take a look at the twenty-nineteen theme that comes as default with the latest install of WordPress.
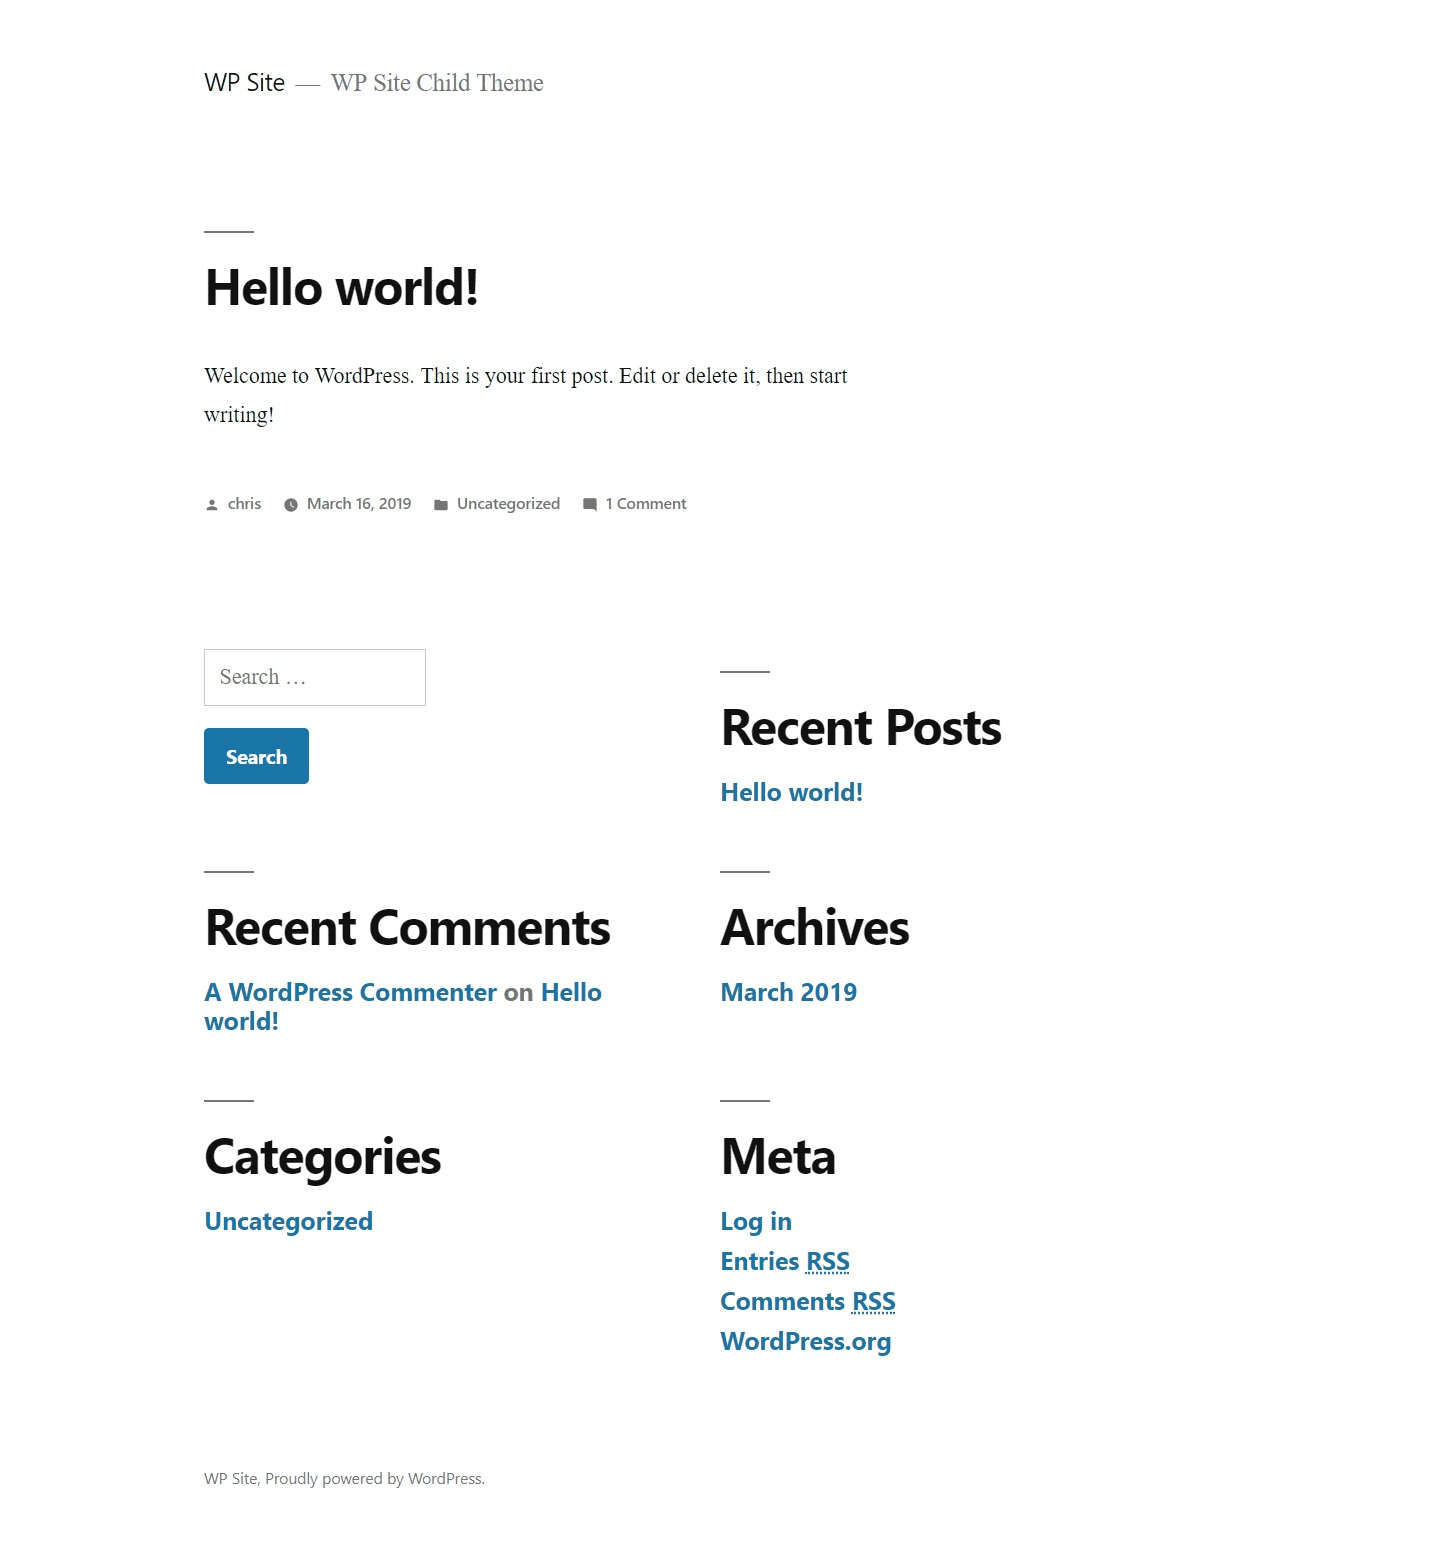
As we can see this is a very basic template that does not contain a lot of styles so we would want to make some additional changes to this theme to cater for our needs.
Create a Child Theme
The first step we should take before doing any works on our website is create a child theme for our twenty-nineteen theme. Let’s start by creating a new folder within the wp-content/themes/ folder in our WordPress install. For this example I will be using cPanel file manager but you can use any FTP software or even a local server running XAMPP or something similar.
I have created a folder called twentynineteen-child as we will be working with the twenty-nineteen theme. You can name this folder whatever you like as this will not be the child theme name, only where we will be placing content for our child theme.
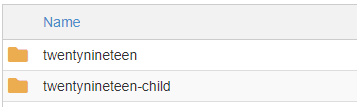
Within the twentynineteen-child directory (or whatever you named your directory) which I will call the child-directory from now on, we need to create a style.css file that will tell WordPress that this is indeed a child theme for twenty-nineteen.
/*
Theme Name: Twenty Nineteen Child
Theme URL: https://wp-site.org
Description: Child theme for twenty-nineteen theme
Author: Christopher Gatt
Author URL: https://www.webonspeed.eu
Template: twentynineteen
Version: 1.0.0
Text Domain: twentynineteen-child
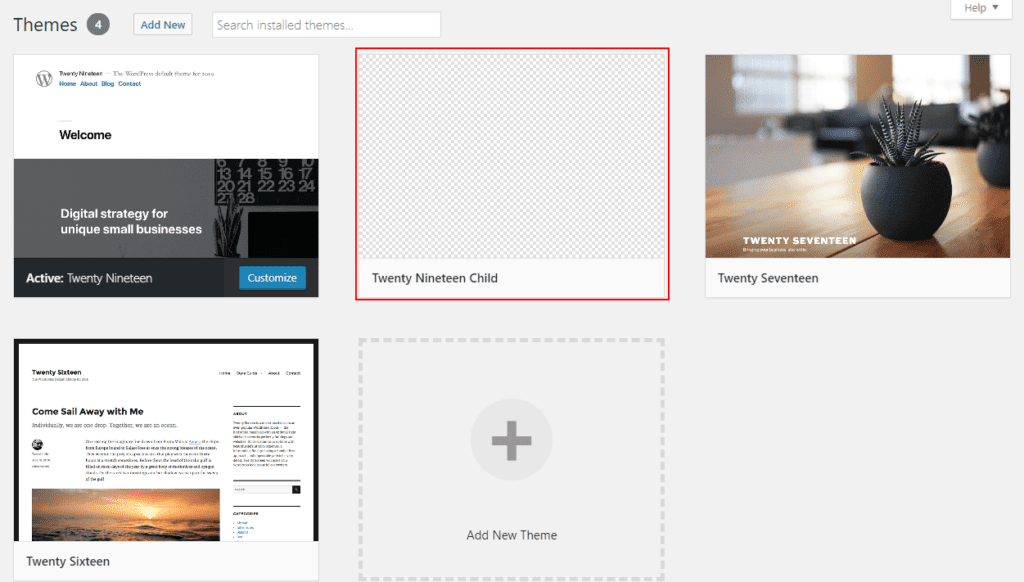
*/ Save the file and go to your WordPress Dashboard, Appearance and Themes. Now you should be able to see the Child Theme with the other themes that came with WordPress when installed.
Let’s activate the child theme as it is and reload the main website again to see what happens. You will notice that the theme now looks a bit wrong with no CSS styles from the parent theme. This is normal because we have not created the functions.php file within the child theme to tell WordPress to load the parent theme styles.
Create the functions.php in the child-directory and add the following code so we load the parent stylesheet.
<?php
add_action( 'wp_enqueue_scripts', 'enqueue_parent_styles' );

function enqueue_parent_styles() {
   wp_enqueue_style( 'parent-style', get_template_directory_uri().'/style.css' );
}
Save the file and reload the WordPress site once more. You should now see the parent theme styles has now loaded.
Making Changes to the parent theme
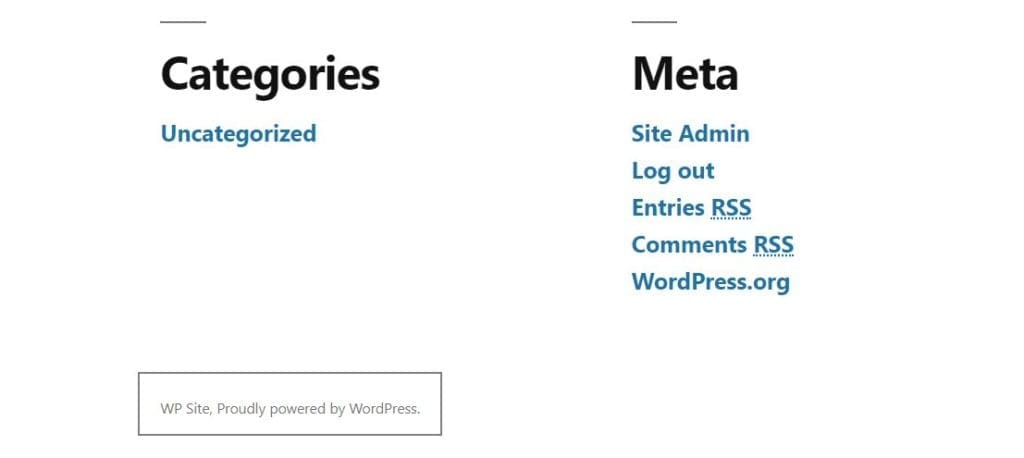
We will be changing the alignment and text of the footer copyright text. At the moment we can see that it displays the site name, Proudly powered by WordPress.
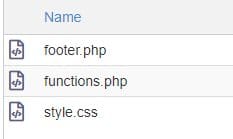
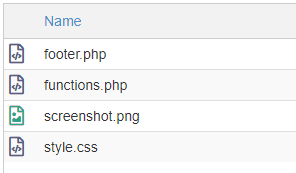
Whenever we want to make changes we have to keep the same folder and filename structure as the parent theme. To start with we will do something simple. Copy the footer.php file from the twentynineteen parent directory into the twentynineteen-child directory. Now you should have 3 files inside your child theme directory as seen in the following image
Let’s now edit the footer file and make the required changes that we want. Look for he highlighted text in the image below
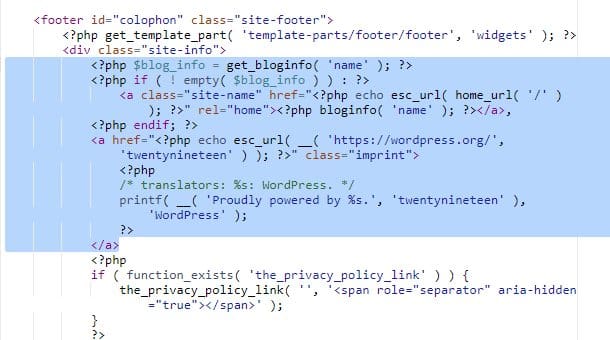
We will delete all this code and add our own copyright text. I am going to replace the deleted text with the following footer text – WP Site | Developed and Hosted by Web on Speed so make sure to modify the text and anchor tag to your own website.
<p>WP Site | Developed and Hosted by <a href="htts://www.webonspeed.eu">Web on Speed</a></p>The complete footer.php file for my example is now as follows
<?php
/**
 * The template for displaying the footer
 *
 * Contains the closing of the #content div and all content after.
 *
 * @link https://developer.wordpress.org/themes/basics/template-files/#template-partials
 *
 * @package WordPress
 * @subpackage Twenty_Nineteen
 * @since 1.0.0
 */

?>

	</div><!-- #content -->

	<footer id="colophon" class="site-footer">
		<?php get_template_part( 'template-parts/footer/footer', 'widgets' ); ?>
		<div class="site-info">
            <p>WP Site | Developed and Hosted by <a href="htts://www.webonspeed.eu">Web on Speed</a></p>
			<?php
			if ( function_exists( 'the_privacy_policy_link' ) ) {
				the_privacy_policy_link( '', '<span role="separator" aria-hidden="true"></span>' );
			}
			?>
			<?php if ( has_nav_menu( 'footer' ) ) : ?>
				<nav class="footer-navigation" aria-label="<?php esc_attr_e( 'Footer Menu', 'twentynineteen' ); ?>">
					<?php
					wp_nav_menu(
						array(
							'theme_location' => 'footer',
							'menu_class'     => 'footer-menu',
							'depth'          => 1,
						)
					);
					?>
				</nav><!-- .footer-navigation -->
			<?php endif; ?>
		</div><!-- .site-info -->
	</footer><!-- #colophon -->

</div><!-- #page -->

<?php wp_footer(); ?>

</body>
</html>
Save the file and reload the WordPress site. You should see the changes made in the footer.
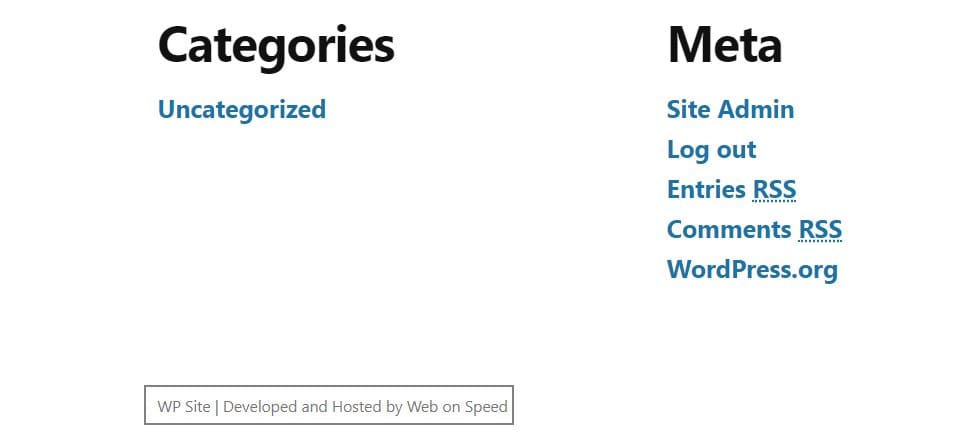
We will now add some styles to the child theme copyright text. Open your style.css file within the child-directory. I want to center align the text, make the text a dark blue color, make the text bold and add a top border to stand out more.
As we saw in the footer.php file the we need to target the colophon id and site-info class.
/*
Theme Name: Twenty Nineteen Child
Theme URL: https://wp-site.org
Description: Child theme for twenty-nineteen theme
Author: Christopher Gatt
Author URL: https://www.webonspeed.eu
Template: twentynineteen
Version: 1.0.0
Text Domain: twentynineteen-child
*/

#colophon .site-info {
    border-top: 1px solid #E0E0E0;
    text-align: center;
    color: #00008B;
    font-weight: bold;
}
Reload the WordPress site and you should see the above styles implemented on the page.

If for any reason you cannot see the changes being made then this is most likely a cache issue. To get around this just change the version number within the style.css file
/*
Theme Name: Twenty Nineteen Child
Theme URL: https://wp-site.org
Description: Child theme for twenty-nineteen theme
Author: Christopher Gatt
Author URL: https://www.webonspeed.eu
Template: twentynineteen
Version: 1.0.1
Text Domain: twentynineteen-child
*/

#colophon .site-info {
    border-top: 1px solid #E0E0E0;
    text-align: center;
    color: #00008B;
    font-weight: bold;
}
Create Child Theme Image
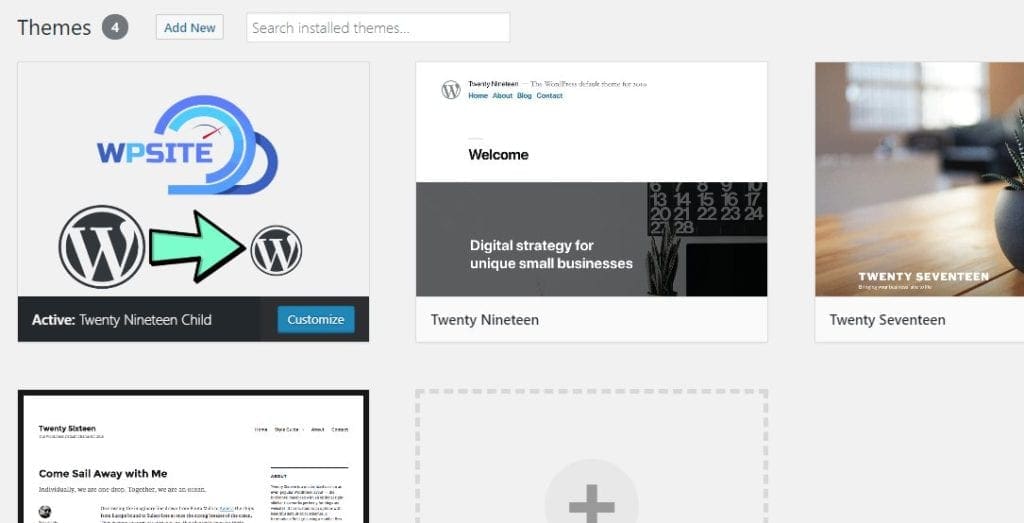
As you may remember when we browsed to our themes within the WordPress Dashboard there was no image for our child theme. Just an empty grey square. We can easily add our own image, I generally create an image that is 880px by 660px. Once you have created your child theme image, save it as screenshot.png and upload it into the child-directory. Once you have uploaded this file you should now have 4 files within your child-directory.
Now go back to the WordPress dashboard, Appearance, Themes and you should see your amazing theme image for your child theme.
You have successfully created a child theme, modified the copyright text and added an image for your child theme. If you have any questions then please comment below 🙂